Hello my wonderful creatives!
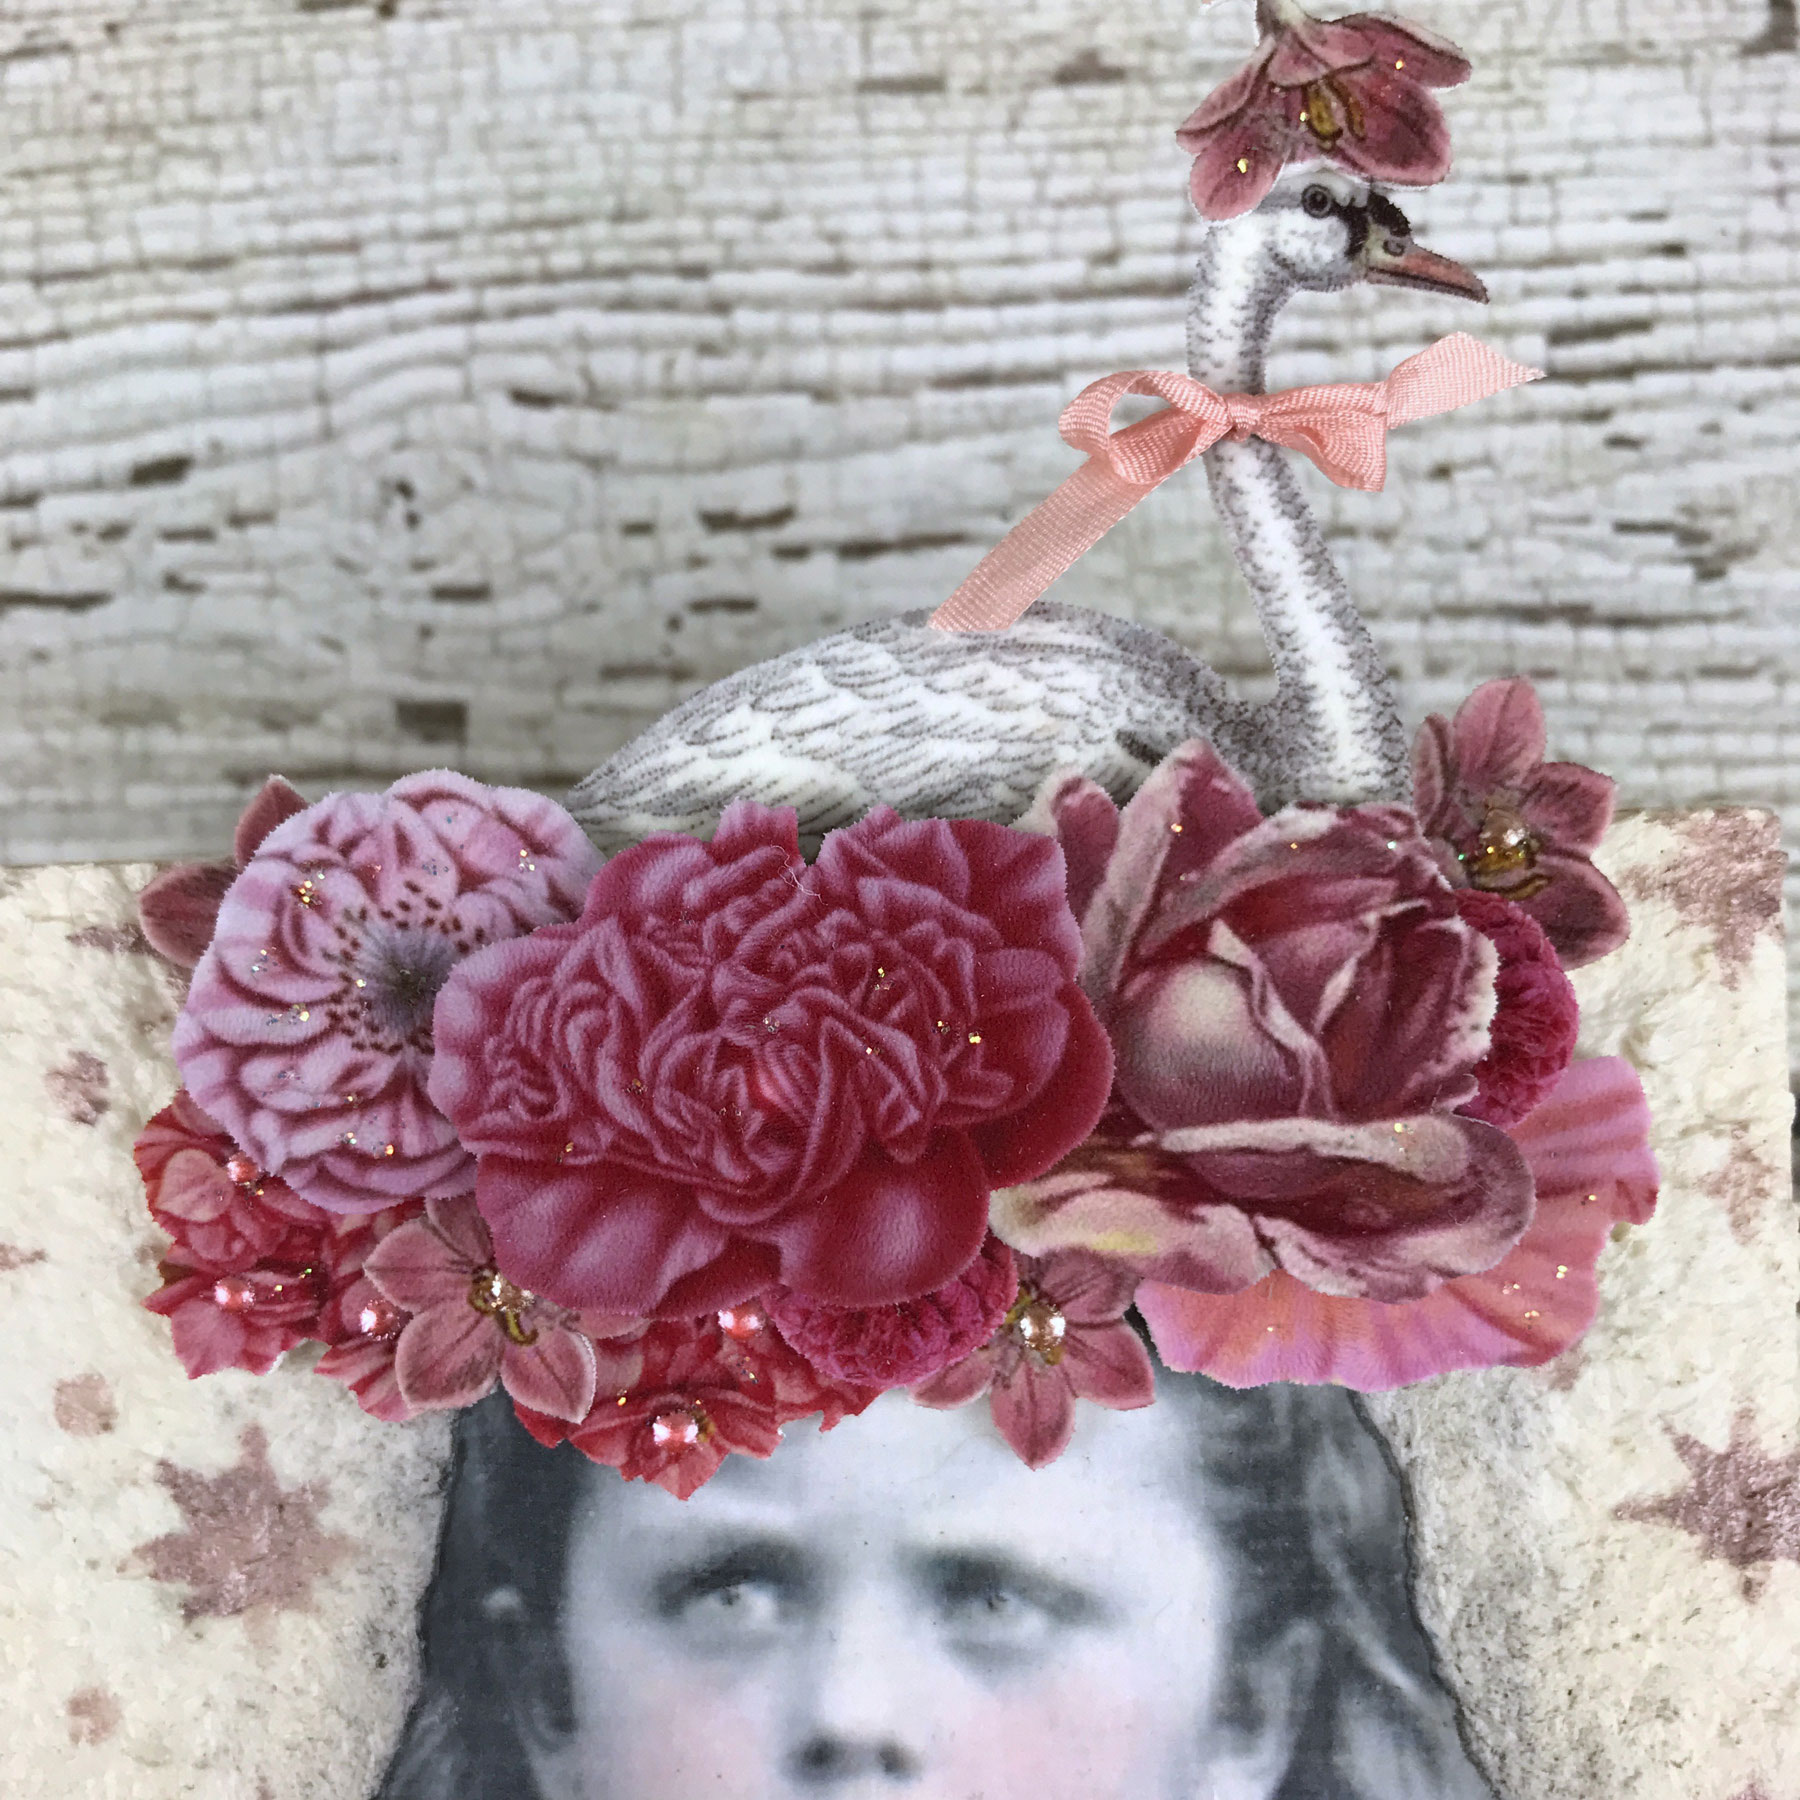
A recurring theme in my artwork is the use of bird imagery. I love their colors, their songs, their beauty in flight…the list goes on and on. You might say I have birds on the brain! As an artist who continually experiments with ways to combine artistic techniques, images and products, I am always excited when a combination just sings to me. Many of the images I collect feature grumpy children and I felt this just set the stage for something like, oh, I don’t know…a bird…to be perched on their head, completely oblivious to the obvious consternation they are causing the child. The children don’t seem to appreciate their feathered crowns, but I know you will!
In this workshop we will be exploring ways to build up texture on your 2D surfaces with acrylic paints and products. Add in some stenciling and shadowing and your image will seem to fly off your surface! Just adding a little extra oomph in these areas can really take your artwork to the next level! Speaking of levels, we will be building up layers of birds and flowers created from inkjet shrink plastic that will result in fabulous headpieces…everyone will want to wear a feathered crown after this workshop! I hope you will join me in playing with these products and I look forward to seeing you in class!
Cheers,
Stephanie Rubiano
““Just as the bird sings, because it is his natural characteristic, so the artist works. ””
Classroom Is Open!
Only $67.00
{ LIFETIME ACCESS & DOWNLOADABLE VIDEOS }
Here's a description of each of our special projects:
Lesson 1 : Sealing, Tinting, Pasting
In the first part of this workshop, I will show you how to prepare inkjet prints for tinting and use in collage. We will then use one of my favorite products to adhere the images to the substrates. Next, you will learn how to use fiber paste as a way to create a textured background surface.
Lesson 2 : Painting and Stenciling
In this section we will go over techniques for adding color and design to your background with acrylic paints and stencils. Different ways to add detail to your imagery with pens and paints will be discussed as well. And finally, I will show you how adding shadows around your image helps give it dimension and depth.
Lesson 3 : Shrinking and Detailing
My most recent art addiction is using inkjet shrink plastic pieces in my work and I can’t wait to share this process with you! I will show you the best way to cut and shrink the plastic for stunning results. We will then learn how to design and engineer the floral hats for our birds to nestle in.
Bonus Lesson: Crowning Glory
In this lesson I will demonstrate how to create a crown from cardboard and shrink plastic that will be the perfect way to adorn the head of your favorite grumpy child. Seriously, how can they be that grumpy when they are wearing such awesomeness???
*** SPECIAL BONUS ***
As a registered participant in this class, I will be providing you with three sheets of imagery prepped for shrink plastic and two images of grumpy kids that you may use in your personal artistic creations!
Classroom Is Open!
Only $67.00
{ LIFETIME ACCESS & DOWNLOADABLE VIDEOS }
What will you learn in this class?
How to stabilize inkjet printed images for use in collage
How to tint your inkjet images
How to adhere your inkjet images to a surface and protect them
How to add texture to your surfaces with fiber paste
How to add acrylic paint in different ways to your image and surfaces
How to stencil on textured surfaces
How to work with inkjet shrink plastic
How to design/engineer your arrangements of shrink plastic birds & flowers
Who is this class for?
This workshop has a little something for everyone at all levels! I know many of us own inkjet printers so learning how to work with images you can print at home will increase variety in your collage subject matter.
Also, now you can use your inkjet printer with shrink plastic and who doesn’t want to feel like a kid again as you watch the magic happening in your own oven? Finally, if you have been curious about some of the multitude of acrylic products available, here is your chance to learn techniques to incorporate a few of them into your art pieces. Put all of this together and you have a fantastic recipe for added dimension and interest in your collage work!
“If only the best birds sang, the forest would be silent. ”
HERE ARE JUST A FEW EXAMPLES OF STEPHANIE's WORK
Classroom Is Open!
Only $67.00
{ LIFETIME ACCESS & DOWNLOADABLE VIDEOS }
SUPPLIES LIST
Required:
Cradled panels-smooth finish, assorted small sizes
Access to an inkjet printer
Printed inkjet images
Liquitex Gloss Medium and Varnish (Green label)
Liquitex Matte Varnish (Orange label)
Grafix Inkjet Shrink Plastic –White
Toaster oven
Pastels (Pan Pastels, pencils or sticks)
The Ultimate Glue by Crafter’s Pick
Scissors
Optional:
Stencils
Acrylic paint
Collage papers
Charcoal pencil or soft lead pencil
Cardboard


