Creating Art on the IPad : A Walkthru my process
Hello! How are you? Summer is winding down and I'm SO ready for Fall! It's my favorite season and I always seem to find much focus and peace as we all settle into our routines. Today, I wanted to share my process on how I created one of the pieces of digital art from my last post. I got lots of responses and wonderful feedback - thank you so much.
Okay here we go...
Using Procreate on my iPad, I create a painted background using various brush tools. My favorite are wet round brush and old brush. I also downloaded the water brush kit from the app store. It has beautiful washes and watercolor effects. Fun!
You build in layers so this would be my first layer or my bottom layer.
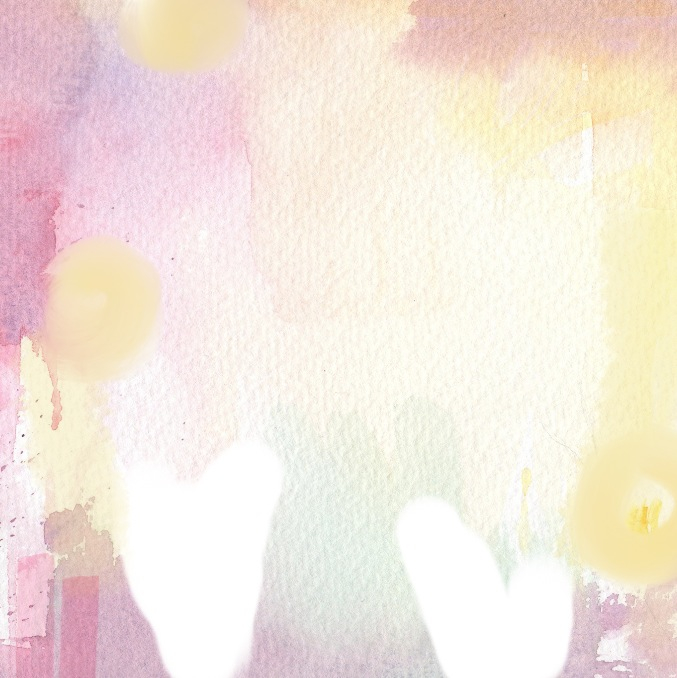
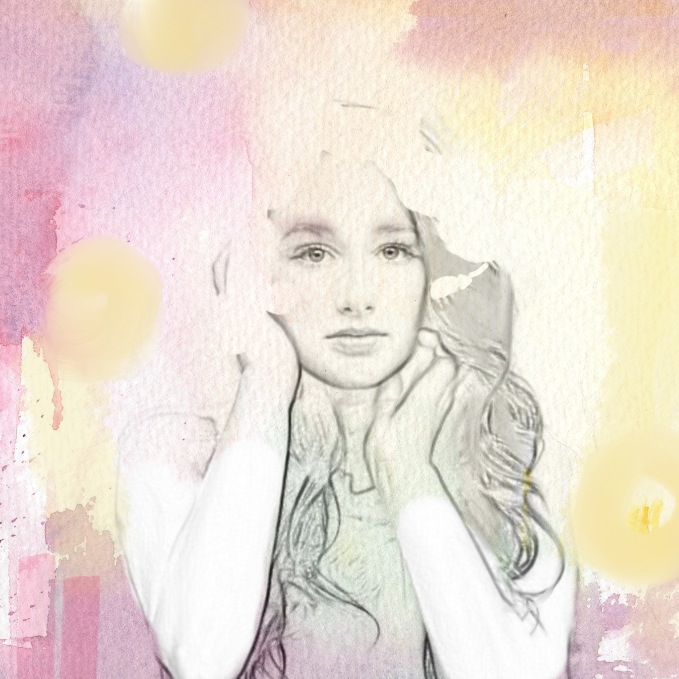
Next, I select an image that inspires me. I usually find these on Pinterest. Now, this is the cool part! Look, I love to draw faces and people but for me drawing freehand on the iPad was awkward and clumsy. Maybe I just need a ton of practice but I couldn't achieve the detail I wanted! I was frustrated so I went on the hunt for an app that might be able to create digital sketch effects like those on Photoshop - enter USketch. You can run any photo image thru this app and it will create a sketch. Very cool right!? I have erased certain elements of the image to suit my needs. This is a separate layer that lies over the top of my painted backdrop.
***tip - you could also take photos of your own sketches and use those! Just use the iPad camera snap away and its ready to import into Procreate ***
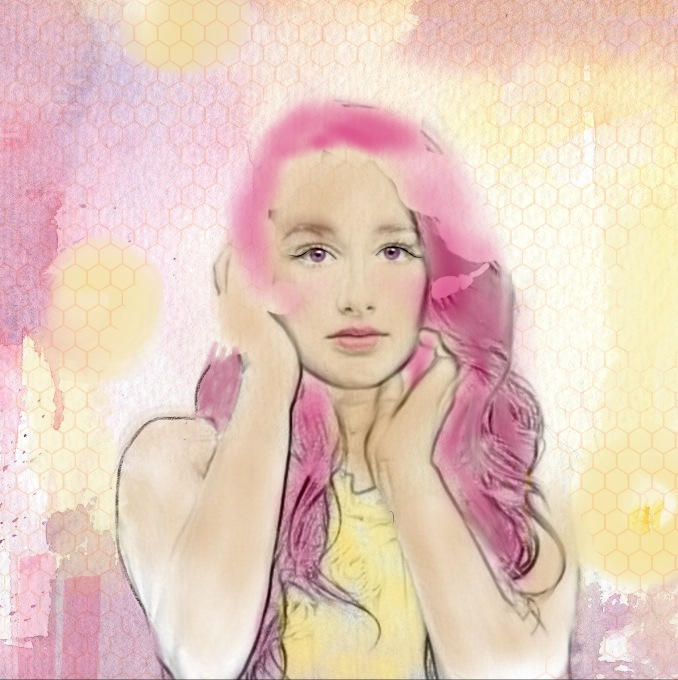
Then I start to lay in color behind the sketch on another separate layer. I used the wet round brush for most of the color but make sure you try the smudge tool too to soften your edges and blend colors. You can see here too that I imported a honeycomb pattern and placed that over the painted background. I erased it in places and reduced its transparency to soften the effect.
I imported this vintage rose image from the Graphics Fairy and made it a multiply layer so it is transparent. Another awesome app I use is called Eraser. It will remove the white background from an image so you can overlay/collage it with ease into your composition. Very handy for creating digital art! Love it!
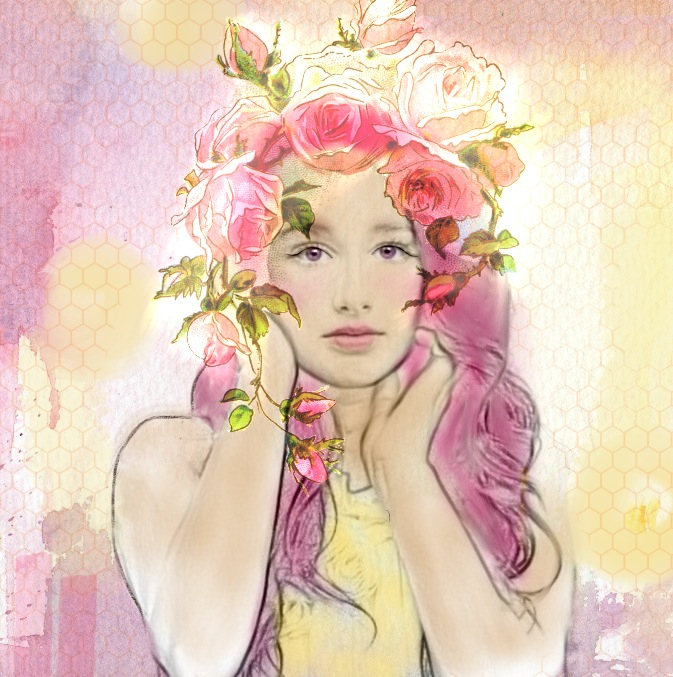
Finally I added in these bees. Another find on the Graphics Fairy. Used the Eraser app to get rid of white background, duplicated the layers and moved them into place.
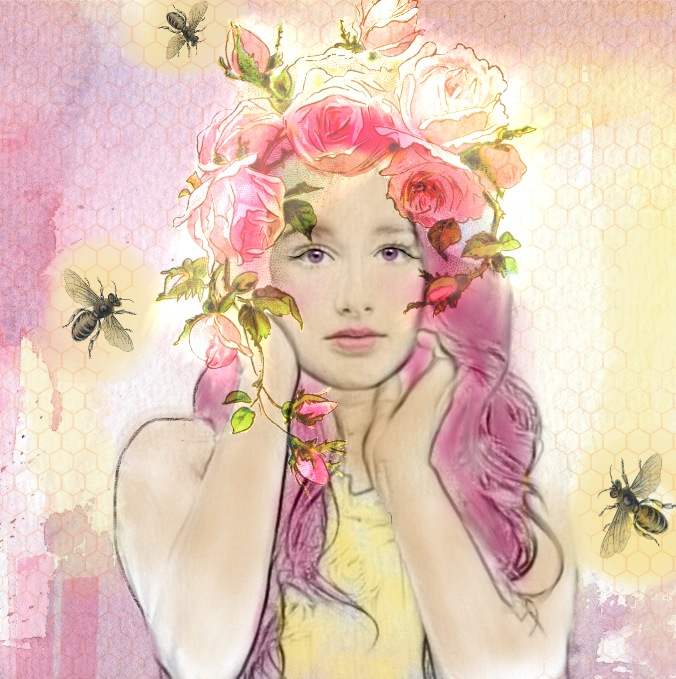
Finally, I added some drips and splashes of paint as well as a few tape like shapes to create some linear elements. And she's done.
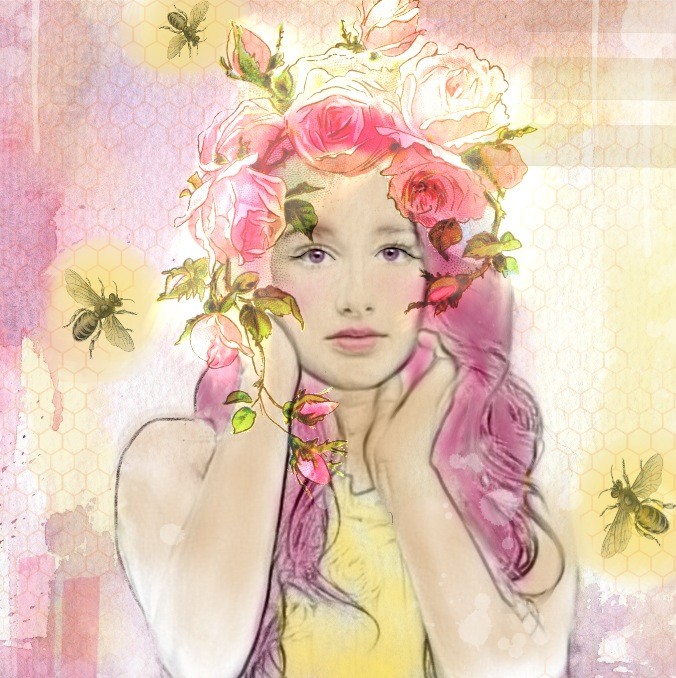
This is such a pleasing way to create digital art! Very forgiving and easy to learn. Let me know if you have questions! I would be happy to help.
Have fun and enjoy your weekend!
xo,
Ivy